After the last post I realized that few people know how easy it is to turn the PC you already have into a streaming cloud similar to GeforceNow that you can access from anywhere.
So here’s the quick rundown what you need and why:
An Nvidia graphics card with GeforceExperience
Here’s the quick rundown on how and why Nvidia is offering this to users:
Nvidia has a product called the “Shield” which is portable game console which is supposed to Stream your PC games. Shield never really took off, but the Nvidia driver still includes the ability to let the PC be remote controlled by a shield client while streaming audio and video to it. It’s a bit like SteamLink, but at the driver level.
Incidently: If you don’t have an Nvidia graphics card, SteamLink is definitely the best alternative, even if compatibility is a little lower and latency a little higher.
A way to wake your PC
If you don’t want to keep your PC running 24/7, just send it to sleep. You’ll find an option called “WakeOnLan” or “Wake on magic packet” in your BIOS which will allow you to wake it up when you want to play.
WakeOnLAN is actually something fairly simple: it powers down your PC while keeping your network adapter running. It will continue to listen for a special ping containing its MAC address and whenever such a packet is received power up the PC.
A way to connect to your homework
Most routers provide some VPN support. Honestly, it’s usually not worth the trouble. Get yourself a RaspberryPi and set up Wireguard, for example via piVPN. You won’t regret it. There are plenty of guides around.
The VPN built into your router may work, but it may as well delay everything to the point where you’re watching a slideshow.
Problem is… WakeOnLAN won’t work via Wireguard (the details are a little technical, but this is by design).
So what you need to do is ask a device inside your network to wake your PC for you. Many routers have WakeOnLan capabilities, if not you can use a RaspberryPi (again) to act as a proxy.
A way to find your home network from outside
If you have a static IP address then this won’t be an issue, but if you only get a dynamic one (meaning that it changes regulary, usually every 24h), then you’ll need some DNS entry that’s kept up to date. There are plenty of providers for this, just look for “Dynamic DNS” on Google and you should find a good free one.
Keep in mind that dynamic DNS works by YOU updating the DNS entry whenever your IP changes. So if you install the ddns client on your PC and send it to standby, then the entry won’t be updated. So chose something that your router can update (if your router supports any DDNS updates) or set up a RaspberryPi to do it. Don’t install the client on your PC unless you want to keep it running 24/7.
A good internet connection
Well obviously. What’s not so obvious is that a connection that may offer great download speed may still be lousy. What you need is upstream, meaning that you can send OUT a lot of traffic, i.e. the video stream. I use a 32mbit (upstream) cable connection, but usually 16 should be plenty and 8 are usually still enough since the video is highly compressed.
Another issue I’ve briefly had in the past is that my provider tried to downgrade me to DSLite… which is a fancy way of saying that you’ll be able to download anything, but it will be next to impossible to connect to your home network from the outside.
A device to run Moonlight on
Moonlight is an open source client for Nvidia’s shield protocol. It runs on pretty much anything, including Windows, Linux, Android (including FireTV), iOS and a few other platforms.
My setup
So now that you know what you’ll need let’s look into how a setup may actually work, in this case my setup.
- GigaByte Windows 11 PC with Nvidia RTX 2080 to host the session with WakeOnLan enabled.
- Raspberry Pi 3 with Ubuntu 20.10 running piVPN script for Wireguard and wakeonlan to trigger PC wake via SSH
- FritzBox 6591 cable router with port 51820 routed directly to the Raspberry Pi for Wireguard
- 32mbit upstream cable connection with static IP
- Android smartphone, tablet and Windows PCs with Moonlight as client.
- WOL app on my Android smarthphone to execute the wake script on the Pi
Let’s look into it a bit more closely.
The PC
The PC is not exactly the latest and greatest, but it gets the job done (i7-4770k with 32GB RAM). What’s more important is the setup.
Install GeForce Experience and configure it. Well, configuring is a bit of a stretch, you just have to go to settings, click on Shield and move the slider to the right:

What’s a bit more involved is enabling WakeOnLan. You have to restart your PC and enter the BIOS (usually by holding down F2 or ESC). From there the procedure is different almost for every mainboard. In my case I had to go to Advanced and enable Wake on Network.
You may also want to disable Windows requiring a login on Wake if your PC is placed somewhere safe:
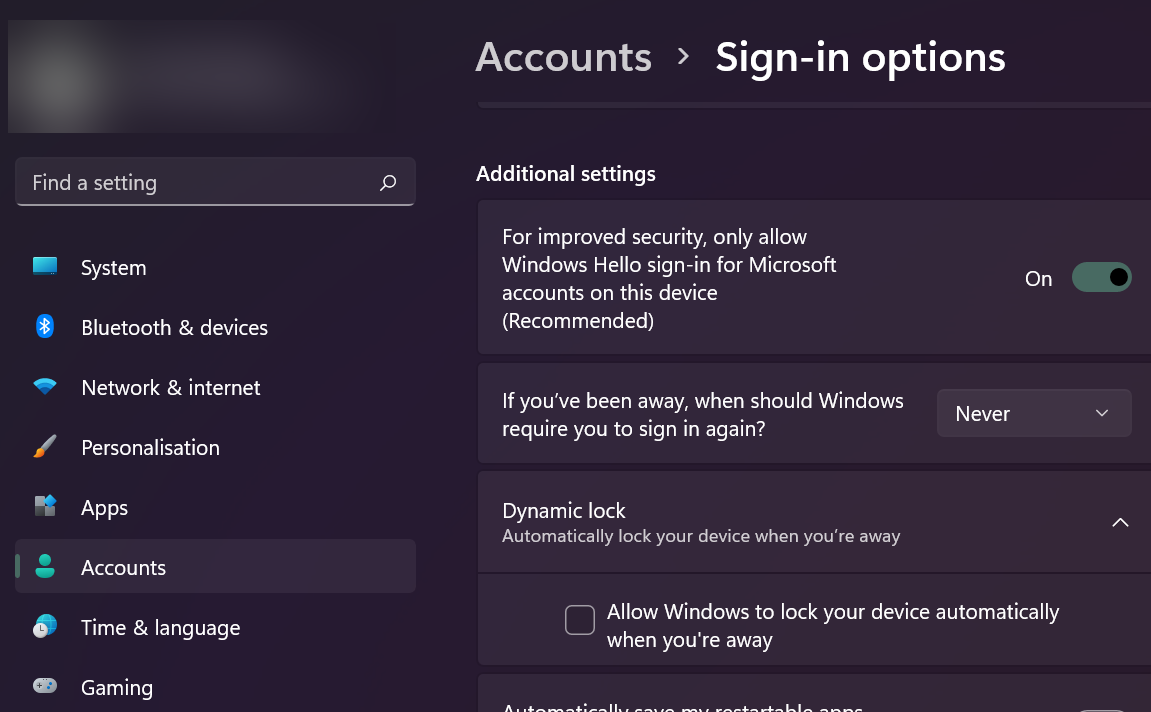
This way it won’t ask you for a password on Wake which may be a pain to enter. But please, only do this if your PC is in a safe location. Unless you’re using a FireTV, Moonlight will let you use a keyboard.
In case you don’t want your screen to turn on once you start streaming, please refer to the previous article.
RaspberryPi
The Raspbbery serves as the main automation hub in my home. I’ve used piVPN to enable WireGuard. It’s really straight forward and there are many guides so I won’t bore you with the details.
If you want to wake your PC using the Pi, don’t forget to install wakeonlan
sudo apt get install wakeonlanRouter
Don’t forget to set up a port forwaring on your Router or you won’t be able to access your WireGuard server:

Client
There are three things you need on the client:
- Wireguard Client
- SSH client to trigger WakeOnLAN on the PI
- Moonlight to play
Also a gamepad usually won’t hurt.
Setting up Wireguard really just boils down to installing the app and scanning the QR code that piVPN generates.
For the SSH client you can use pretty much any client you like. I like WOL simply because you can create a widget-button that will send whatever command you ask silently. For WakeOnLAN this is
wakeonlan -i 192.168.1.23 A0:B1:C2:D3:E4:F5Where 192.168.1.23 is the IP address of your PC and A0:B1:C2:D3:E4:F5 is it’s MAC address.
And that’s pretty much it. Connect the gamepad to your smartphone, connect to your network via Wireguard, wake the PC with WOL and connect via Moonlight.